Homework 3 Part 2
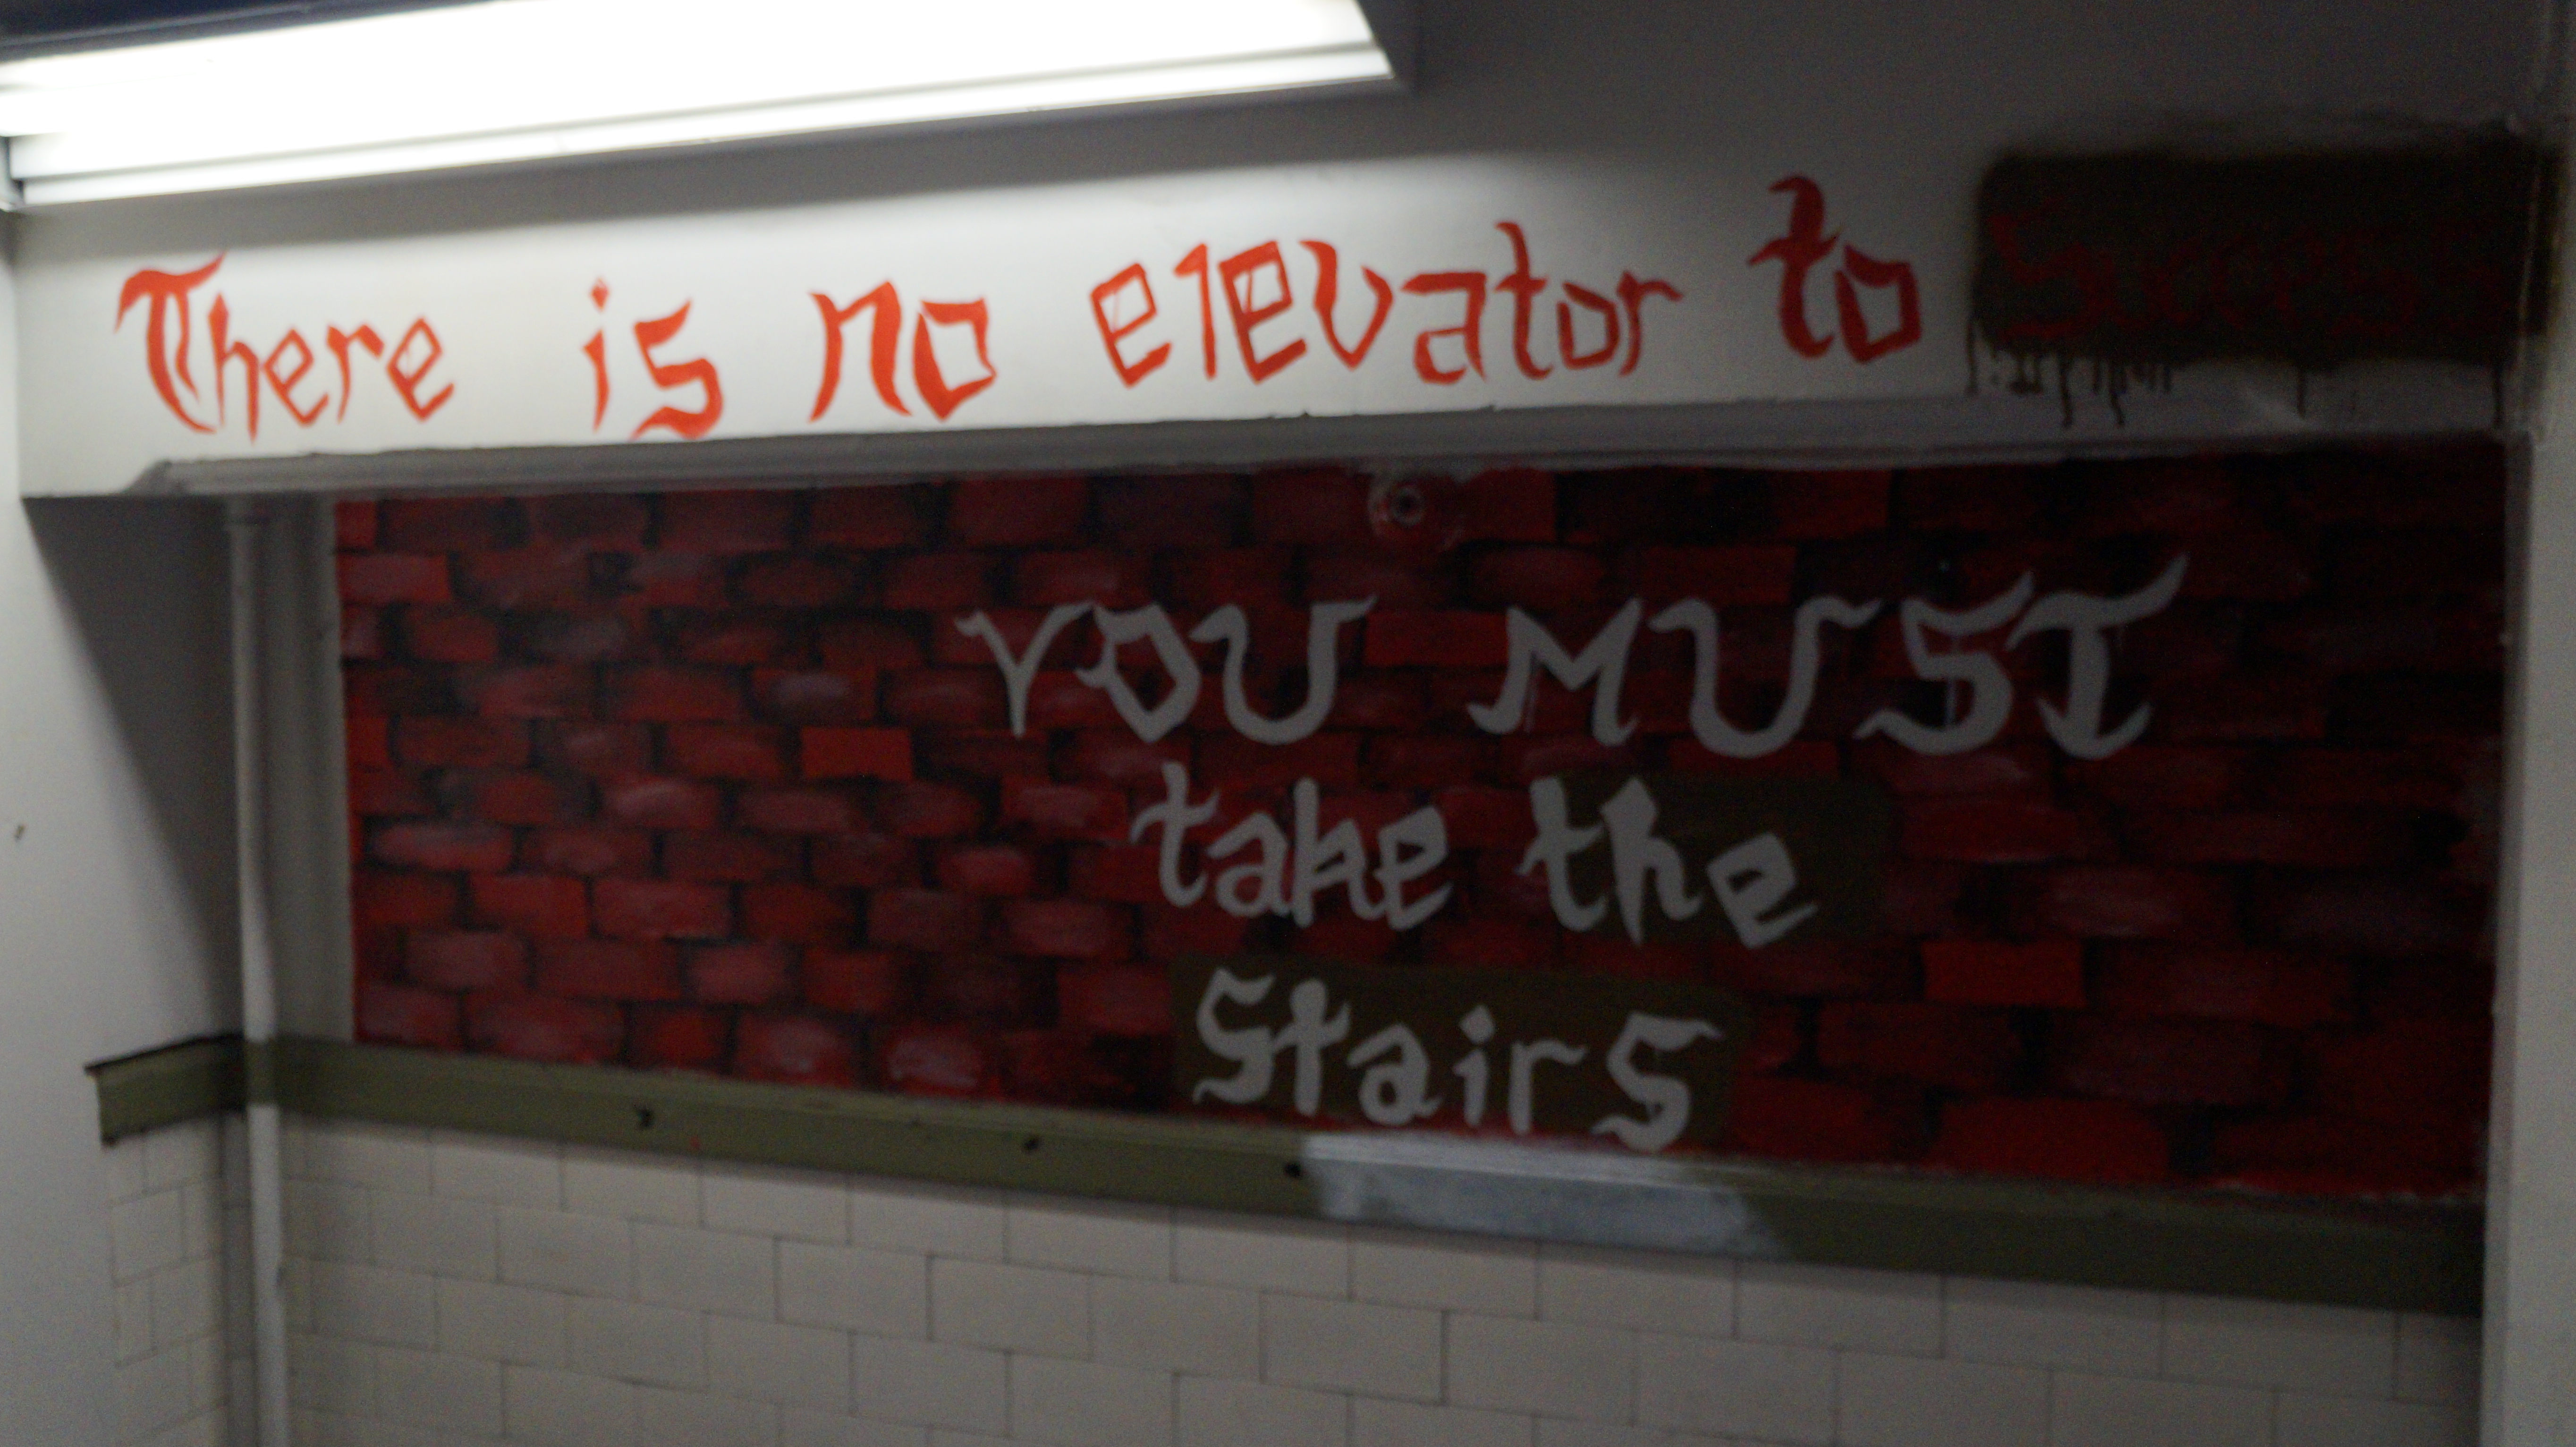
Image 1 BEFORE
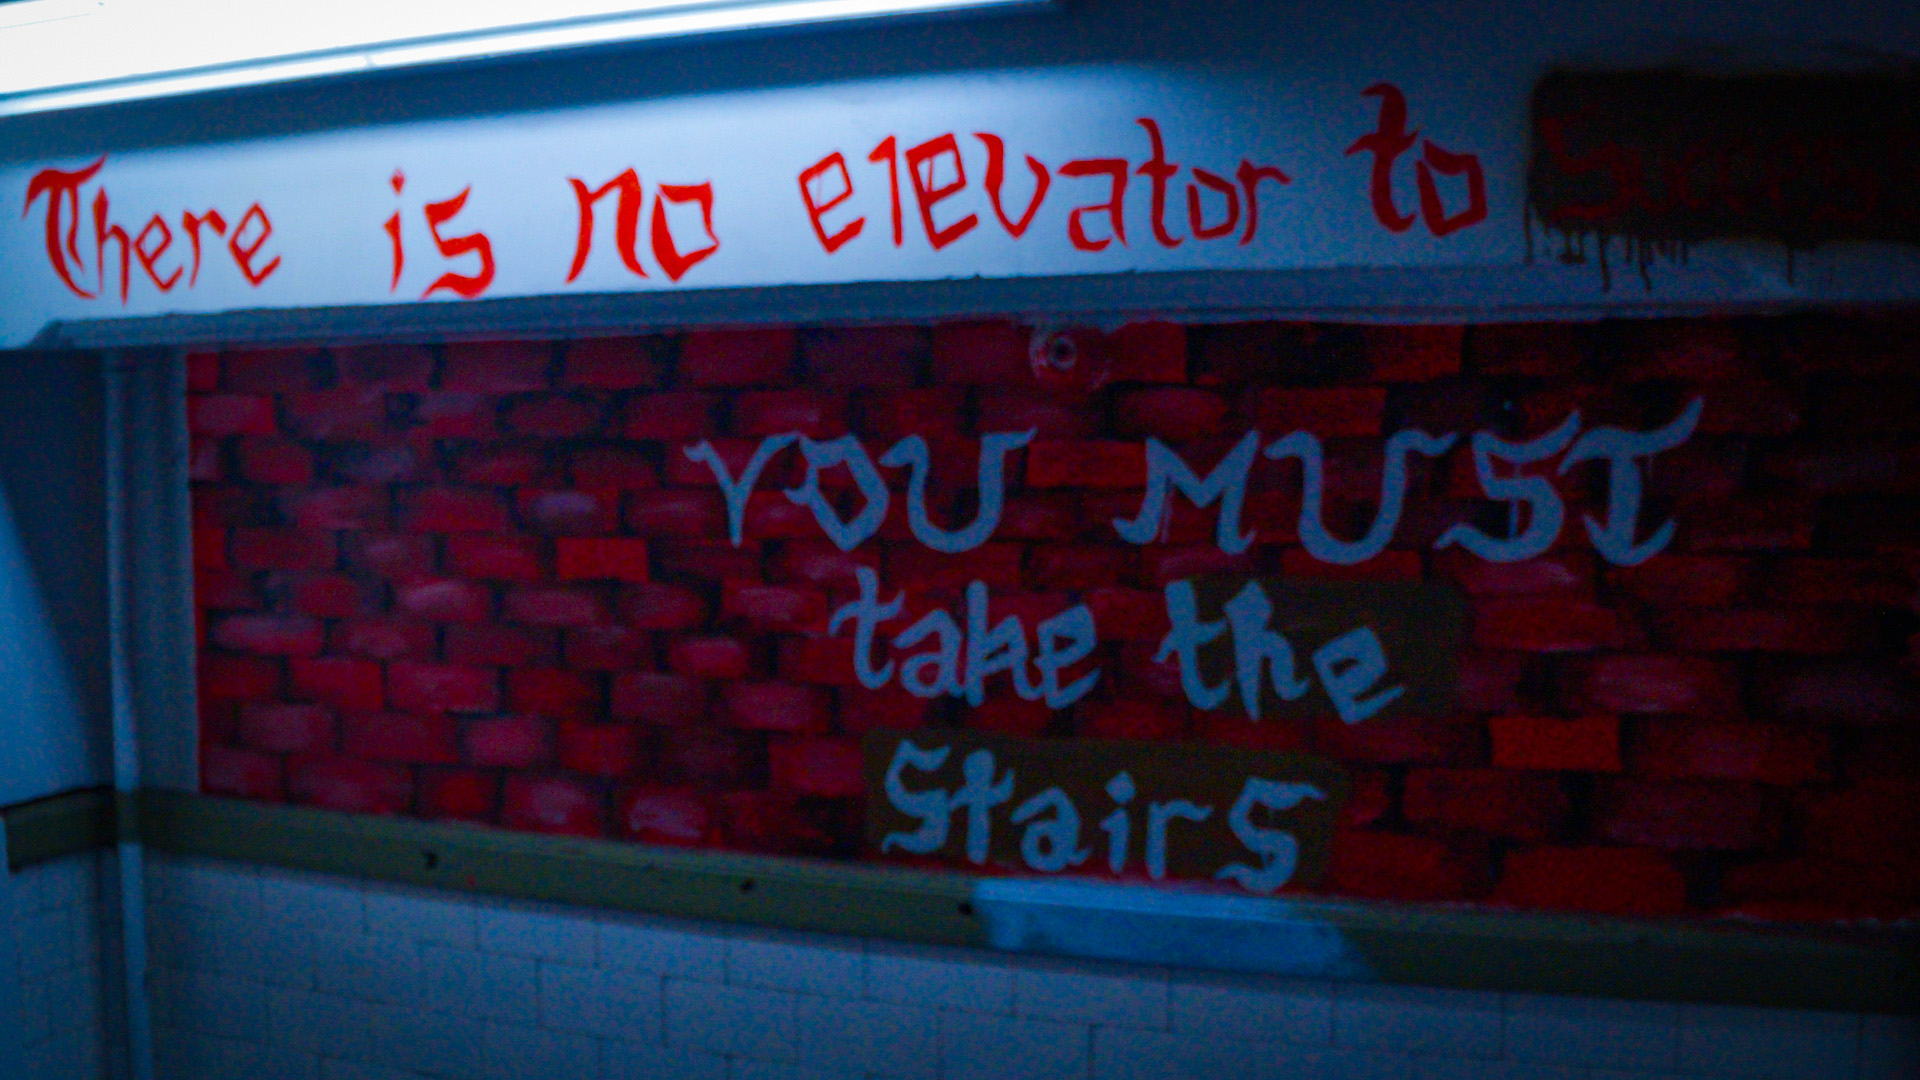
Image 1 AFTER
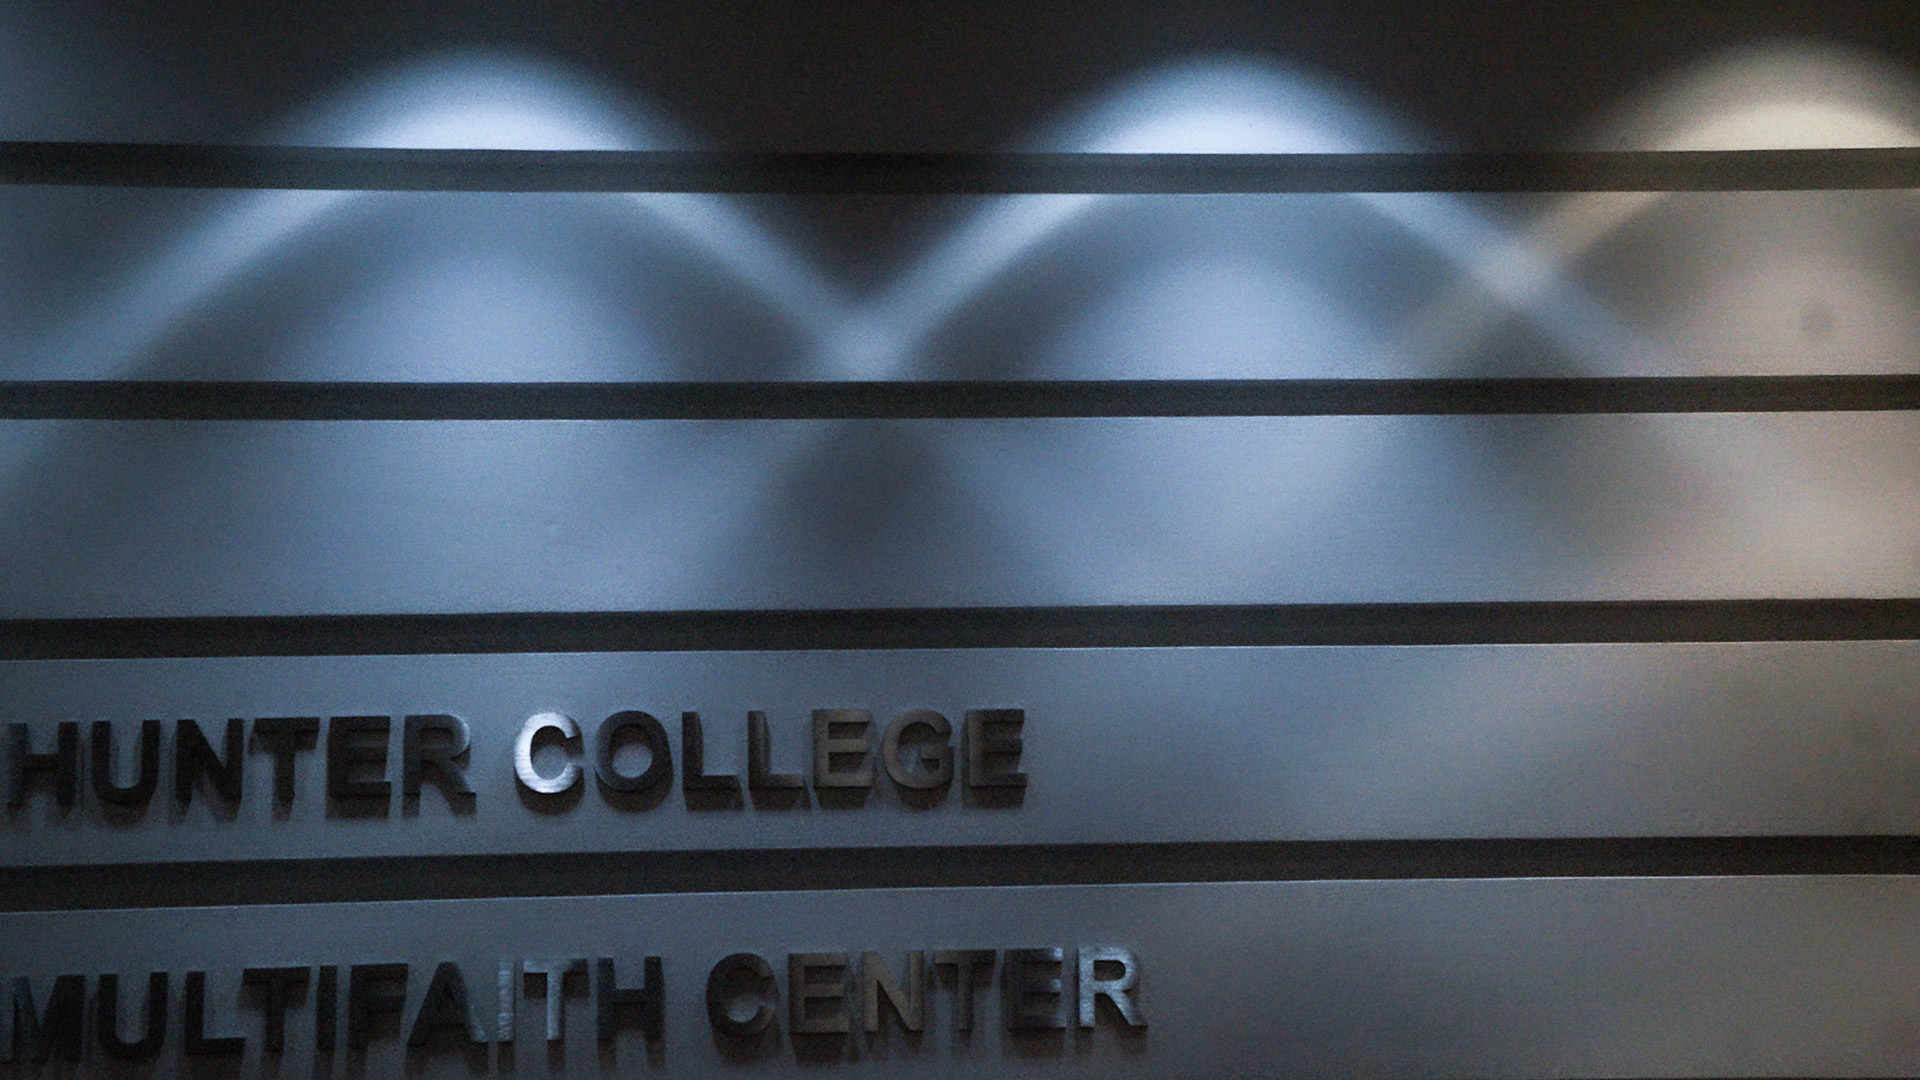
Image 2 BEFORE
Image 2 AFTER
Back to Home
Homework 3 Part 1